Perfect Pizza Workshop
Monday night, my husband and I and a couple of our friends went back to school. Cooking school, at Cook’s World in Seattle. This tiny gourmet cooking shop hosts small cooking classes featuring local chefs. Monday was pizza night with George DiPasquale from the Essential Baking Company. Now, I haven’t been in a cooking class since the 80s, and I’m pretty sure that was the Microwave cooking class I took with my mom in which we learned how to nuke scrambled eggs. I wouldn’t describe it as a life-altering experience.
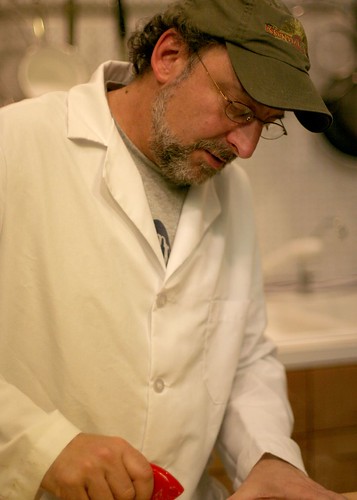
The Perfect Pizza Workshop, on the other hand, was another story. I’ve made pizza years ago including using all the fancy tools like a peel and a stone. But my crust was just never the crisp, chewy stuff that I love. Amazingly, despite the lack of a pizza oven, our Perfect Pizza Workshop pizza’s turned out fantastic! Just the right thinness, crisp and just a touch of chewy.
George started by talking about the type of crust he learned to make in Italy, and walking us through the basic ingredients, a touch of the science, and a few variations like focaccia and semolina-based doughs. He stressed that there are two things that you must get right for a great pizza: a great crust and small amounts of fresh ingredients. “The crust is not an edible plate.” It should have subtle flavor and texture. And you aren’t making a dagwood sandwich… each bite should contain a touch of each flavor, not overwhelm or weigh it down.
Then, we got to dive in and get our hands dirty. We each had a large bowl with pre-measured flour, yeast and salt and he walked us through his tips on each.
Flour – All Purpose, Unbleached, Organic. George recommends against using high gluten or bread flours and was insistant that organic flours make a better tasting crust, as the wheat is grown by smaller farms focused on the flavor of their grains rather than the quantity they can produce.
Yeast – Instant in the small packets. I was surprised by this, but apparently all the recent developments in yeast have been focused on instant, and it’s more stable. I’m not sure the brand that we were using, but I did find some Organic yeast in Whole Foods that I’m excited to try. The other nice thing about the instant yeast is it doesn’t require proofing and can be mixed directly into the flour mixture dry.
Salt – Fine grain sea salt. You don’t need to use the fancy stuff. You won’t be able to tell. Also, he recommended against using course grain as it doesn’t add anything and takes longer to integrate.
He also showed us how to make “the volcano”, by piling up the flour mixture, and hollowing out the center with two fingers. Water is poured into the center in very small quantities, and mixed in with the inner most flour carefully avoiding breaking the sides and spilling water all over the counter. After showing us this, he let us know that we wouldn’t be using the volcano method because it was too much to clean up… we’d be mixing our dough in our big bowls.
With the addition of the water, we started our work, mixing with our hands until the dough started to become less sticky. Now, it’s at this point that a lot of mistakes are easily made so adding the water needs to be done a little at a time. Too much water and the dough isn’t workable (and it’s hard to work more flour in once there is too much water). Too little water and the dough is too stiff. Which is how most of our dough was. We all got it into nice balls and thought that we were set to start kneading, and he came around and said, nope, needs more water. He added a bunch (what I really thought was too much) and my nice ball became a big sticky mess again. But pushing and squishing it for another 5 minutes or so made a huge difference and the new ball dough was much softer and pliable than my previous attempt. It was time for the kneading.
Only using a small amount of flour at a time, we learned the proper technique to folding, pushing and turning the dough. The point of kneading is to get the gluten fibers to align and stretch. There are lots of things that can go wrong in this process too. You can tear the gluten strands, you can not stretch them enough, you can work in too much flour and throw off the balance, you can knock your wine into your dough (or does that kind of thing just happen to me?). You can’t, however, hand-knead too much. Your arms will fall off first. So, we kneaded and pushed and turned and worked our dough for about 30 minutes. Our goal was to achieve that mythical gluten “window.” You take a small hunk of the dough, and gently stretch it, with hopes of it forming a translucent thin film about the size of a quarter instead of just tearing. The best that I got was about the size of a penny, and I thought I was headed towards a so-so crust.
Then, George let us in on a little secret. You could spend another hour or so kneading to get the window. Or, you can let the dough rest, and take a little break. The strands will somehow magically start to align themselves. He had some fancy word for this process, but I’ve already forgotten what it was. After 15 minutes of the dough sitting under wrap, we removed it, lightly pushed it down and re-tried our window test. The dough was much better, and while my window wasn’t quite quarter sized, it was close enough. We split the dough into 4 pieces (4 pizzas each!) and started the next step: making the pizza.
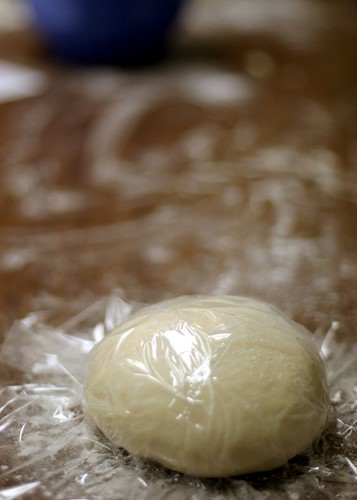
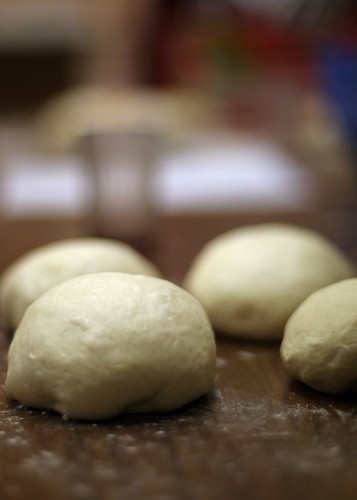
This was the fun part. After gently pushing down into a small circle with lots of flour on the table, we used our knuckles to make a little trench about a 1/2 of an inch from the edge all the way around. Then, we flipped the dough over, and pushed from the other side, basically delineating what was the crust edge from where the toppings would sit. Flipping back over, we dotted the interior of our disc firmly with our fingertips until it was quite thin, and flipped again and repeated on the other side. Then came the stretching. Draping the dough over one flat hand, it was quickly slapped onto the other, back and forth, turning a quarter with each pass, until it was the desired thinness and size. Voil?ɬ†! Crust! A quick transfer to our floured, wooden pizza peel and it was time to top it.
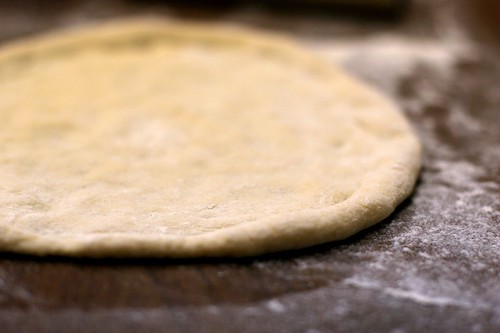
Toppings are a very personal thing. I tend toward simplicity: a tiny bit of red sauce and some fresh mozzarella are good enough for me. Or, a brush of olive oil, a sprinkling of caramelized onions and gorgonzola. Or a smidgen of anchovy. The key to topping the crust we made though is to not overdo it. The other tip we learned is never put the herbs on before cooking. Save the fresh basil and a dash of salt for after the oven.
When it comes to cooking, you can make or break your pizza. Even if you have a perfect crust, you won’t get good results without a hot enough oven. And most likely, you won’t have a hot enough oven at home. A thick pizza stone is a necessity if you haven’t shelled out the $10k for a real pizza oven. And, if you have, you probably stopped reading at the beginning of this post because you know way more about pizza than I do. With your pizza stone in the oven, turn your oven on as high as you possibly can. Mine goes to 550F. The stone will take about an hour to heat once your oven preheats, so count on a couple of hours to get it all hot enough. Cooking in a home oven takes about 10 to 12 minutes but you may need to add some time in between pizzas to let the stone reheat.
We did learn a few tips on how to use the peel and get the pizza in and out of the oven successfully. Place the peel all the way at the back of the stone with the end on the stone. Lift the peel about 15 degrees, and give it a quick pull. I was the only who “had an incident” putting my one of my pizzas in, and it hung off the back of the stone eventually making a terrible mess. Luckily we had more.
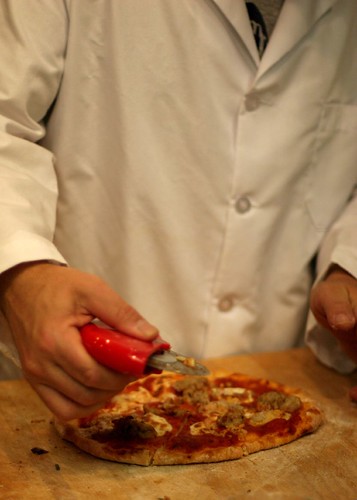
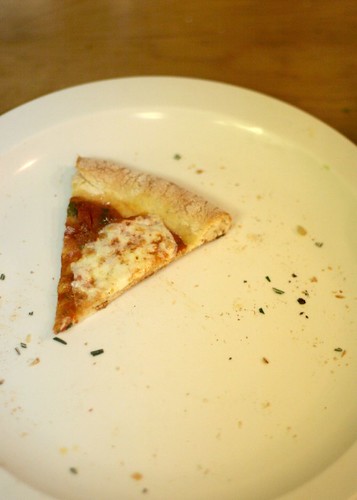
Of course, we got to eat all of our creations. They were near-perfect… tender and crisp at the same time. Chewy without being doughy. There wasn’t much left at the end of the night.
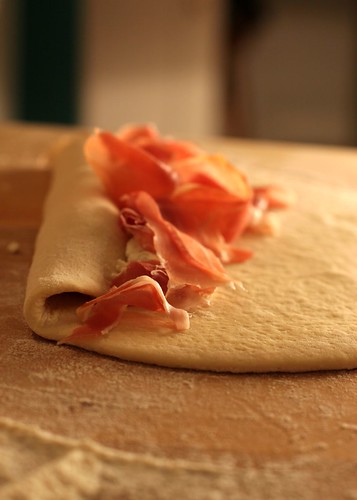
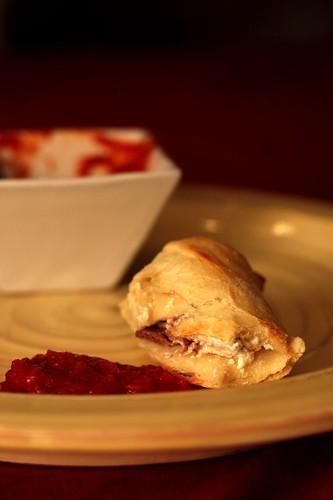
Cam and I both saved off a couple of doughs, and the next night, I made stromboli with fresh procuitto and ricotta. It was still delicious.
Technorati Tags: Food, Photography, Recipe, Tips
Since this new site is about adding tips and tricks, I figured I would add a couple of my own that I remembered from that night. These are probably obvious to all you experienced folks, but hey it’s about sharing. On the flour he specifically recommended Fairhaven. For the simple sauce (interesting to me in particular) he recommended Italian Canned Tomatoes – whole, peeled, in puree – supposedly even though they are canned they still taste way better than most supermarket tomatoes. San Marzano I believe was the brand. Next up was the cheese – all fat all the time – he was very anti low-fat cheeses – you want whole milk mozzarella – dry if you can get it so it doesn’t make the crust all runny. The water for the dough should be warm, not cold, cold water kills the yeast. There is a magic number for hand kneading – 1000 turns. Supposedly all of the in chefs argue about this, and someone will swear it’s 960, but George assured us that it was 1000. And last but not least, again if you are still with me, the perfect temperature for dough is 78 degrees F. Yes, supposedly there is a perfect temperature – the key is to test the water, and then test the dough once you have kneaded it. If it’s warmer than 78, then use slightly colder water next time – if colder, then obviously use warmer. We weren’t nearly this precise and our dough was pretty darn good, but hey.
OK, I know this was long, but thought you might find at least some of it interesting. No matter how you slice it, the pizza was darn good….
Hey! So I just igned up for this class. I can’t wait. I am taking it this Saturday. I loved how on the phone the woman said “Come HUNGRY.”
I’ll make sure to not eat all morning 🙂
Thanks for posting about this!
Joe- Hope it’s great for you! I know I learned a ton… and I definitely agree that you should go hungary. There was way more pizza than the 8 of us could eat during our class.